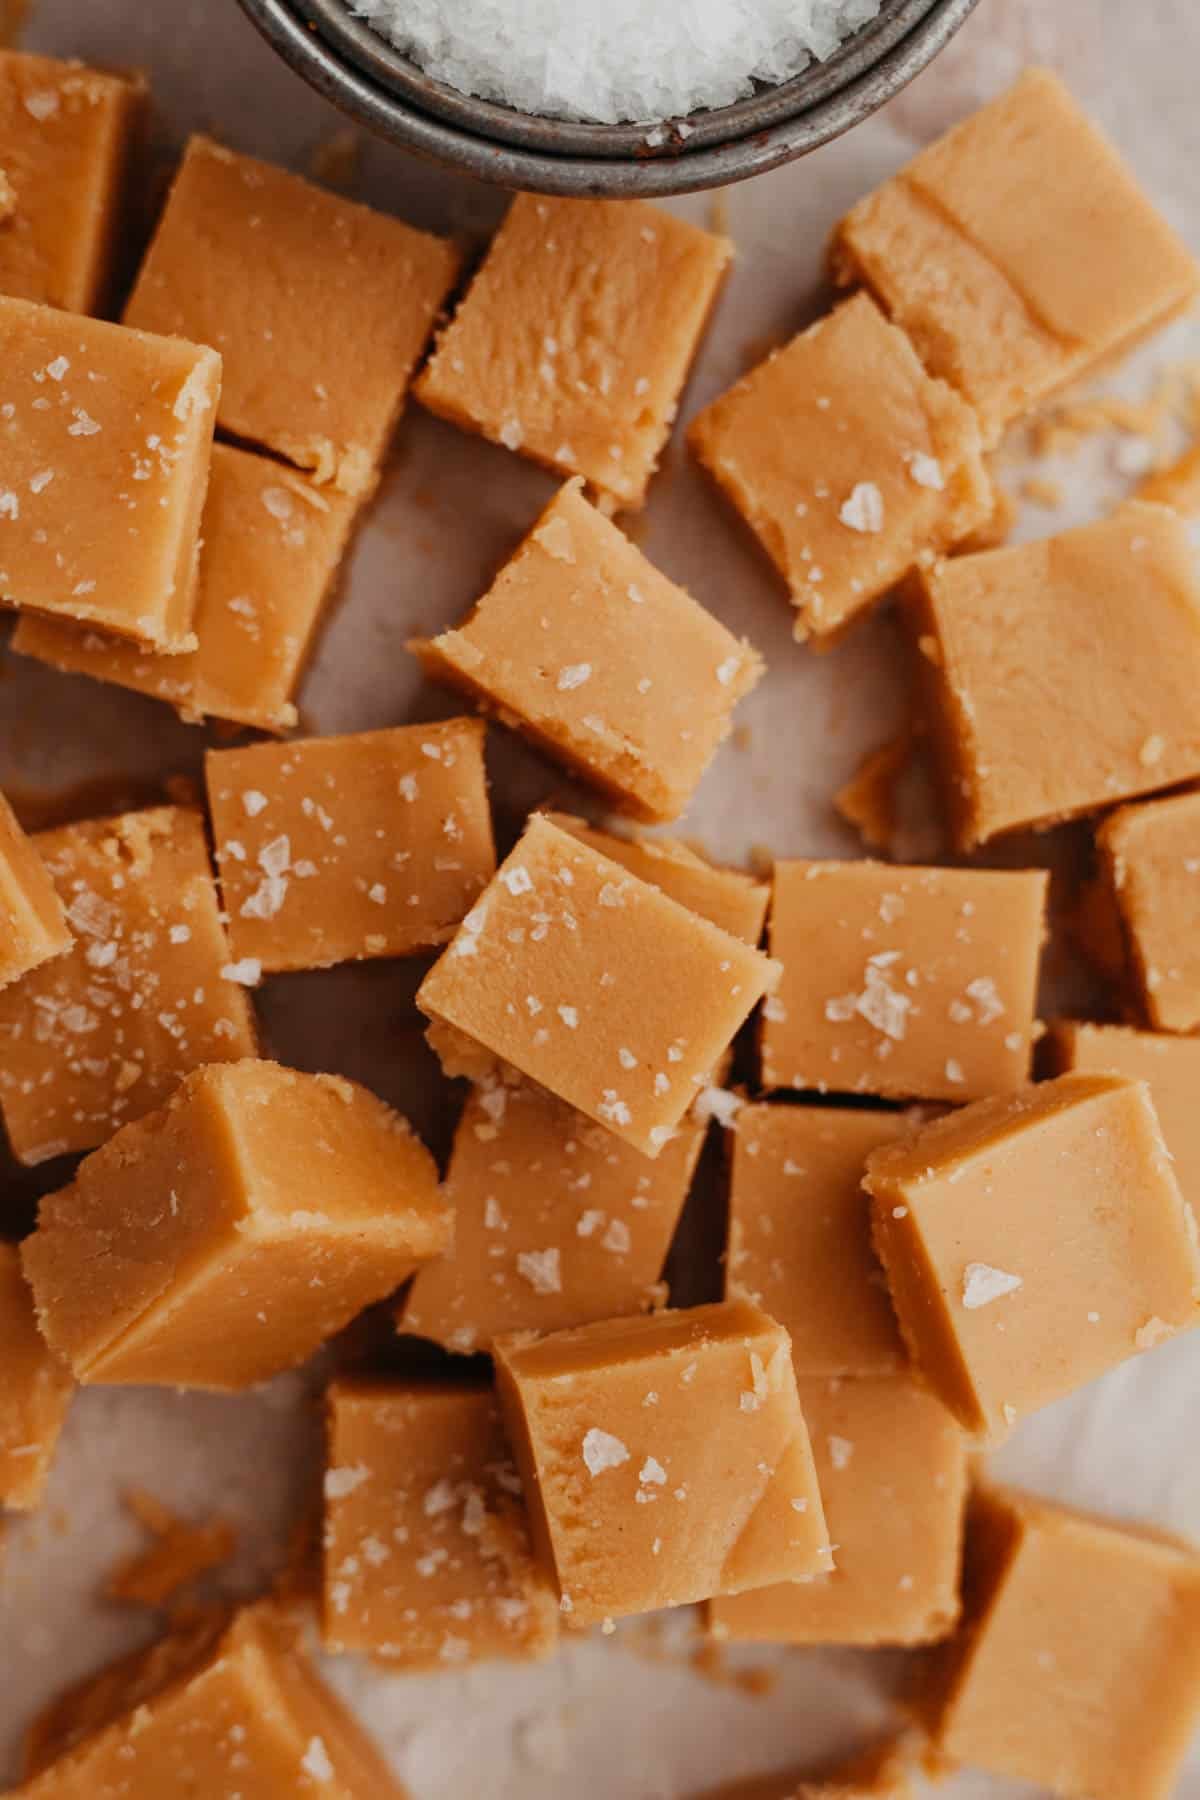
This no bake peanut butter fudge is made from just 5 ingredients! This creamy peanut butter fudge doesn’t need any fancy equipment or a candy thermometer, and you can whip it up in just 10 minutes.

I love a candy or dessert that only needs a few simple ingredients but packs a punch! This smooth and creamy peanut butter fudge looks fancy but I promise it is so easy to make! I love that I don’t need a candy thermometer or any fancy equipment to make this fudge.
Tell me about this recipe!
- Simple Ingredients – this recipe only needs 5 ingredients, that’s it! All you need is peanut butter,butter, confectioners’ sugar, vanilla extract and salt.
- Customizable – if you want to get fancy you can add some sprinkles on top or flaky sea salt (which is what I did!). I think you could also sprinkle over some chopped nuts.
- 1 Bowl Recipe – this easy to make fudge recipe is made in just 1 bowl, no stirring over a hot pan here.
Ingredient Notes

Peanut Butter: I have only tested this recipe with creamy commercial peanut butter, and not the natural peanut butter which has oil on top.
Confectioner’s Sugar: this is also known as icing sugar or powdered sugar. I suggest sifting it before using so the fudge doesn’t have any lumps!
Vanilla Extract: because there aren’t a ton of ingredients in this recipe, make sure to use a high quality vanilla!
Unsalted Butter: I always use European butter because it is much creamier and richer than American butter.
Salt: I think you always need a little bit of salt in desserts! I also added some extra flaky sea salt on top of the finished fudge.
Step by Step Instructions

Step 1: Take a large bowl which is microwave safe and place your butter and peanut butter inside. I recommend cubing your butter beforehand as that will help it melt faster.
Step 2: Microwave the butter and peanut butter together in 30 seconds increments, stirring after every 30 seconds until melted.

Step 3: Take the bowl out of the microwave. Add your confectioners’ sugar and vanilla extract. Mix everything together using a rubber spatula until smooth. It will be very thick, like cookie dough!
Step 4: Pour the fudge dough into an 8×8 pan that has been lined with parchment paper. Press the top of the fudge with the rubber spatula to smooth out the top and chill in the fridge until set. Once set, remove and slice into squares.

Recipe Tips & Tricks
- Use a weighing scale – I highly recommend using a weighing scale and measuring out your ingredients the metric way. It makes a huge difference to your baking and is the most accurate way to bake!
- Add Toppings- I added flakey salt to the top of the fudge here, but you could also add sprinkles, chopped nuts, chopped peanut butter cups or chocolate chips!
- Smooth Top – to get a smooth top to the fudge, use a small offset spatula or a rubber spatula to slowly smooth out the top until you get rid of all the ripples and cracks! Do this before you place the pan in the fridge.


