What is Google Calendar
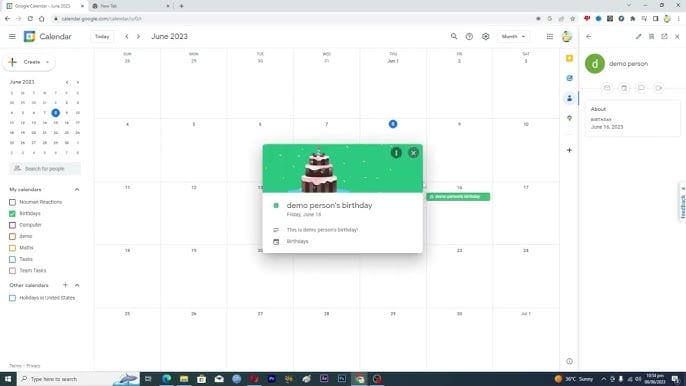
Google Calendar is a powerful and versatile online tool provided by Google that enables you to organize and schedule events, appointments, and tasks in a streamlined and easy-to-navigate interface. Its integration with other Google services like Gmail, Google Drive, and Google Meet, as well as compatibility with third-party apps, makes it efficient and convenient.
As a professional, you can use Google Calendar to manage your busy schedule, set meetings, track deadlines, and set reminders for important events. Additionally, it allows you to customize and categorize events using different colors, ensuring you can quickly distinguish between various types of activities.
One significant feature of Google Calendar is the ability to share your calendar with other people. This functionality is particularly valuable when collaborating with colleagues, coordinating schedules with family members, or informing friends about upcoming events. Sharing your calendar makes it easier for others to view your availability, enabling you to optimize your time and effectively coordinate your plans.
How to Share Your Google Calendar
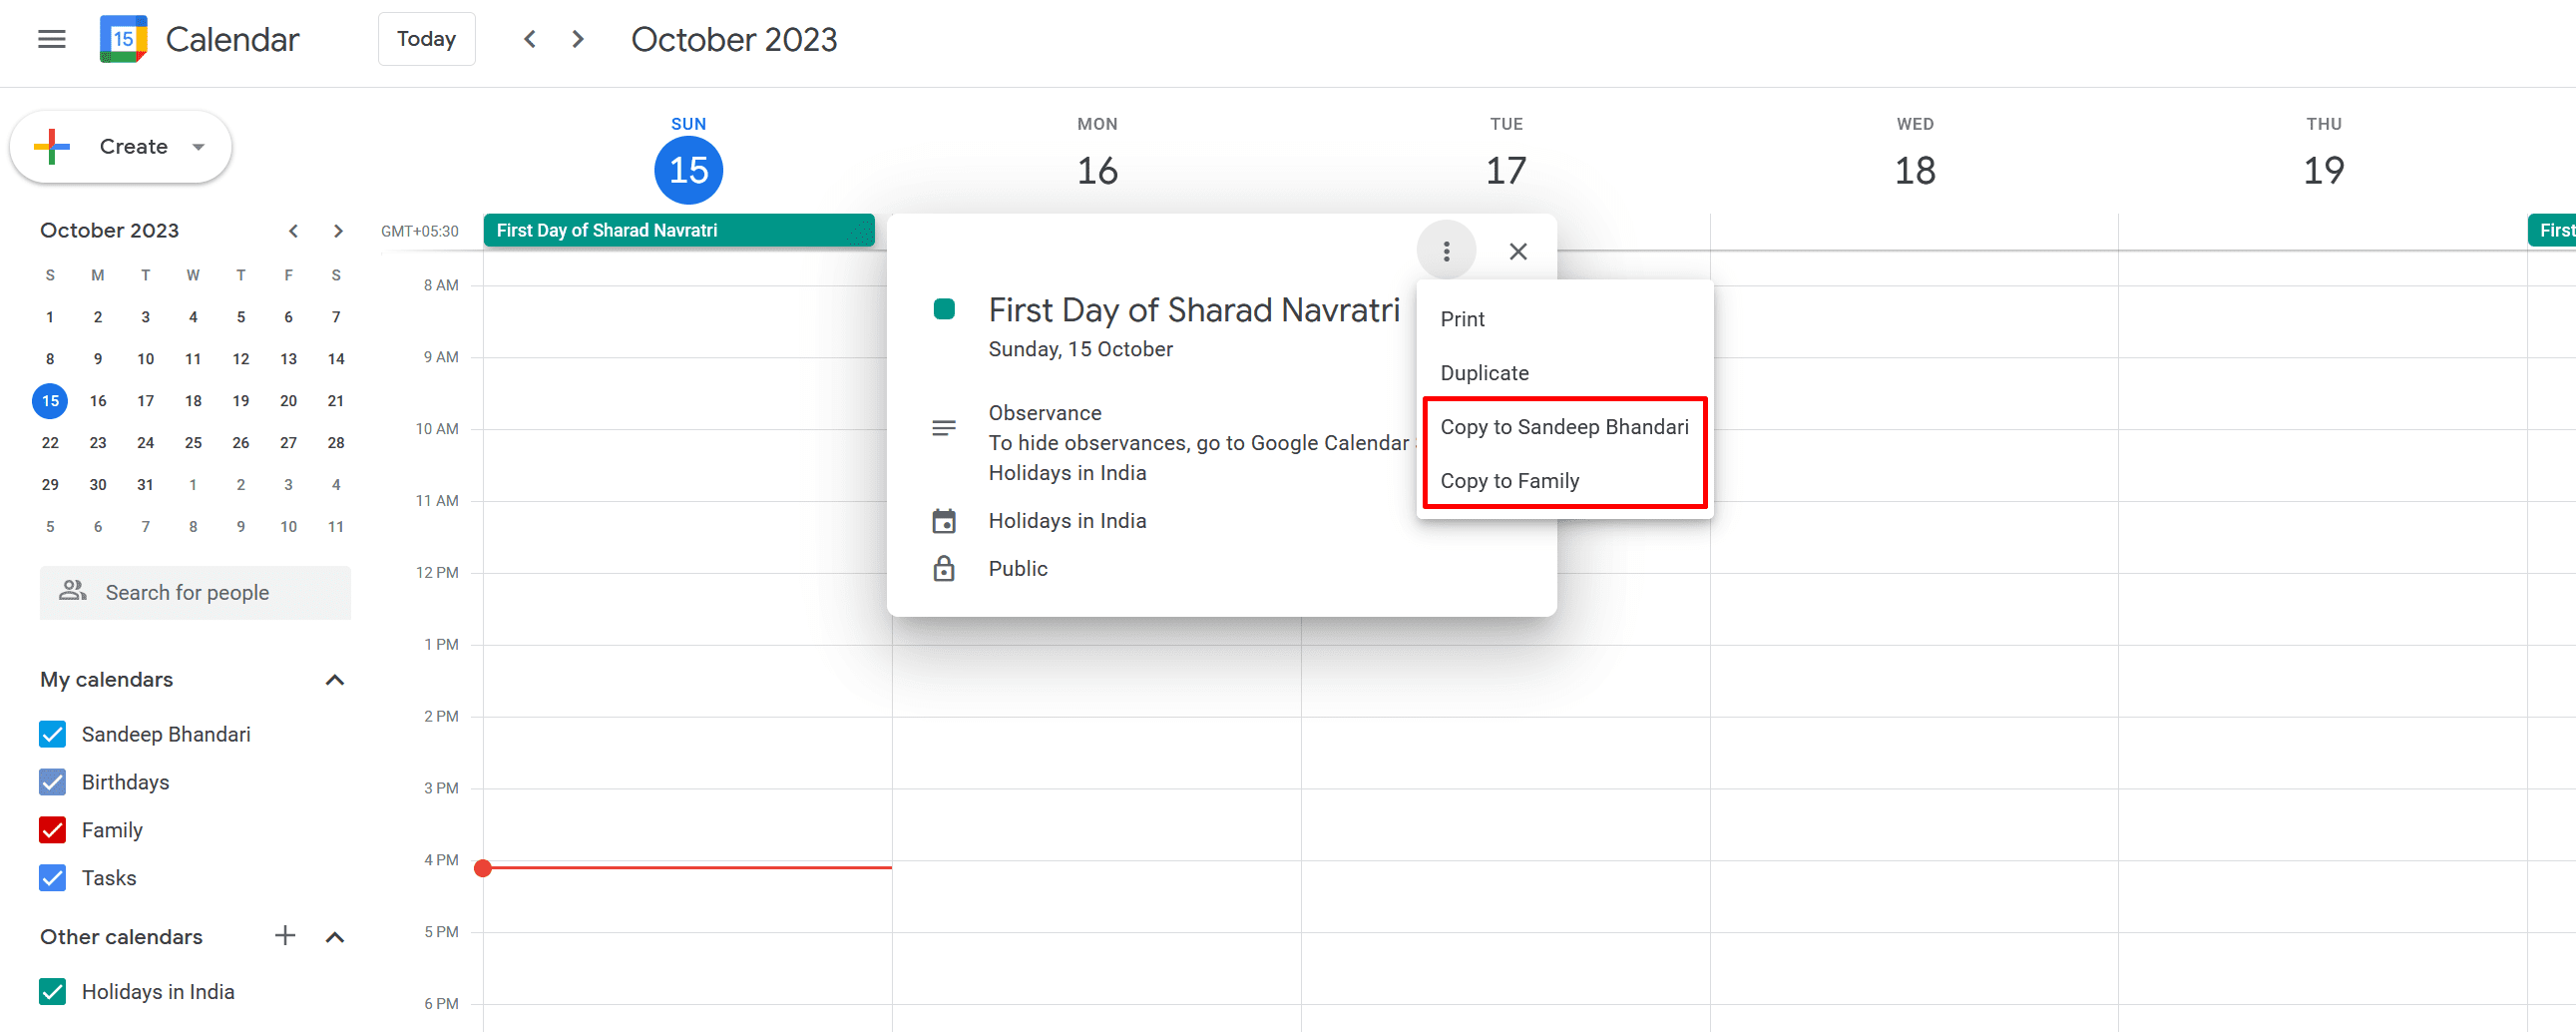
This section will guide you on how to share your Google Calendar with others. We will focus on three main methods for sharing: Sharing with specific people, creating a shareable link, and embedding your Google Calendar on a website.
Share with Specific People
To share your calendar with specific people, follow these steps:
- Open Google Calendar in a web browser on your computer.
- Find the calendar you want to share in the “My Calendars” section on the left.
- Hover over that calendar, click the three dots, and choose “Settings and Sharing.”
- Scroll down to the “Share with specific people” section.
- Click “Add people” and type in the email address of the person you wish to share the calendar with.
- If the person is already in your address book, you can enter a couple of characters and click the name to autocomplete it.
- Select the appropriate permissions from the drop-down menu.
- Finally, click “Send” to share the calendar with the specified user.
Creating a Shareable Link
If you prefer to share your calendar using a link, follow these steps:
- Open Google Calendar in a web browser on your computer.
- In the “My Calendars” section on the left, locate the calendar you want to share.
- Hover over that calendar, click the three dots, and choose “Settings and Sharing.”
- Scroll down to the “Access permissions” section.
- Check the box for “Make available to public” or “Make available for your_domain.com”
- Choose the level of access from the dropdown (e.g., “See only free/busy,” “See all event details”).
- A shareable link will be provided in the “Public URL” or “HTML” section.
- Copy this link and share it with whoever you want to have access to your calendar.
Embed Your Google Calendar on a Website
To embed your Google Calendar on a website, follow these steps:
- Open Google Calendar in a web browser on your computer.
- In the “My Calendars” section on the left, locate the calendar you want to embed.
- Hover over that calendar, click the three dots, and choose “Settings and Sharing.”
- Scroll down to the “Integrate calendar” section.
- Copy the provided “Embed code.”
- Paste this code into your website’s HTML where you’d like the calendar to appear.
Following these instructions, you can easily share your Google Calendar with others, create a shareable link, or embed it on your website.
Managing Shared Google Calendars
Changing Permission Settings
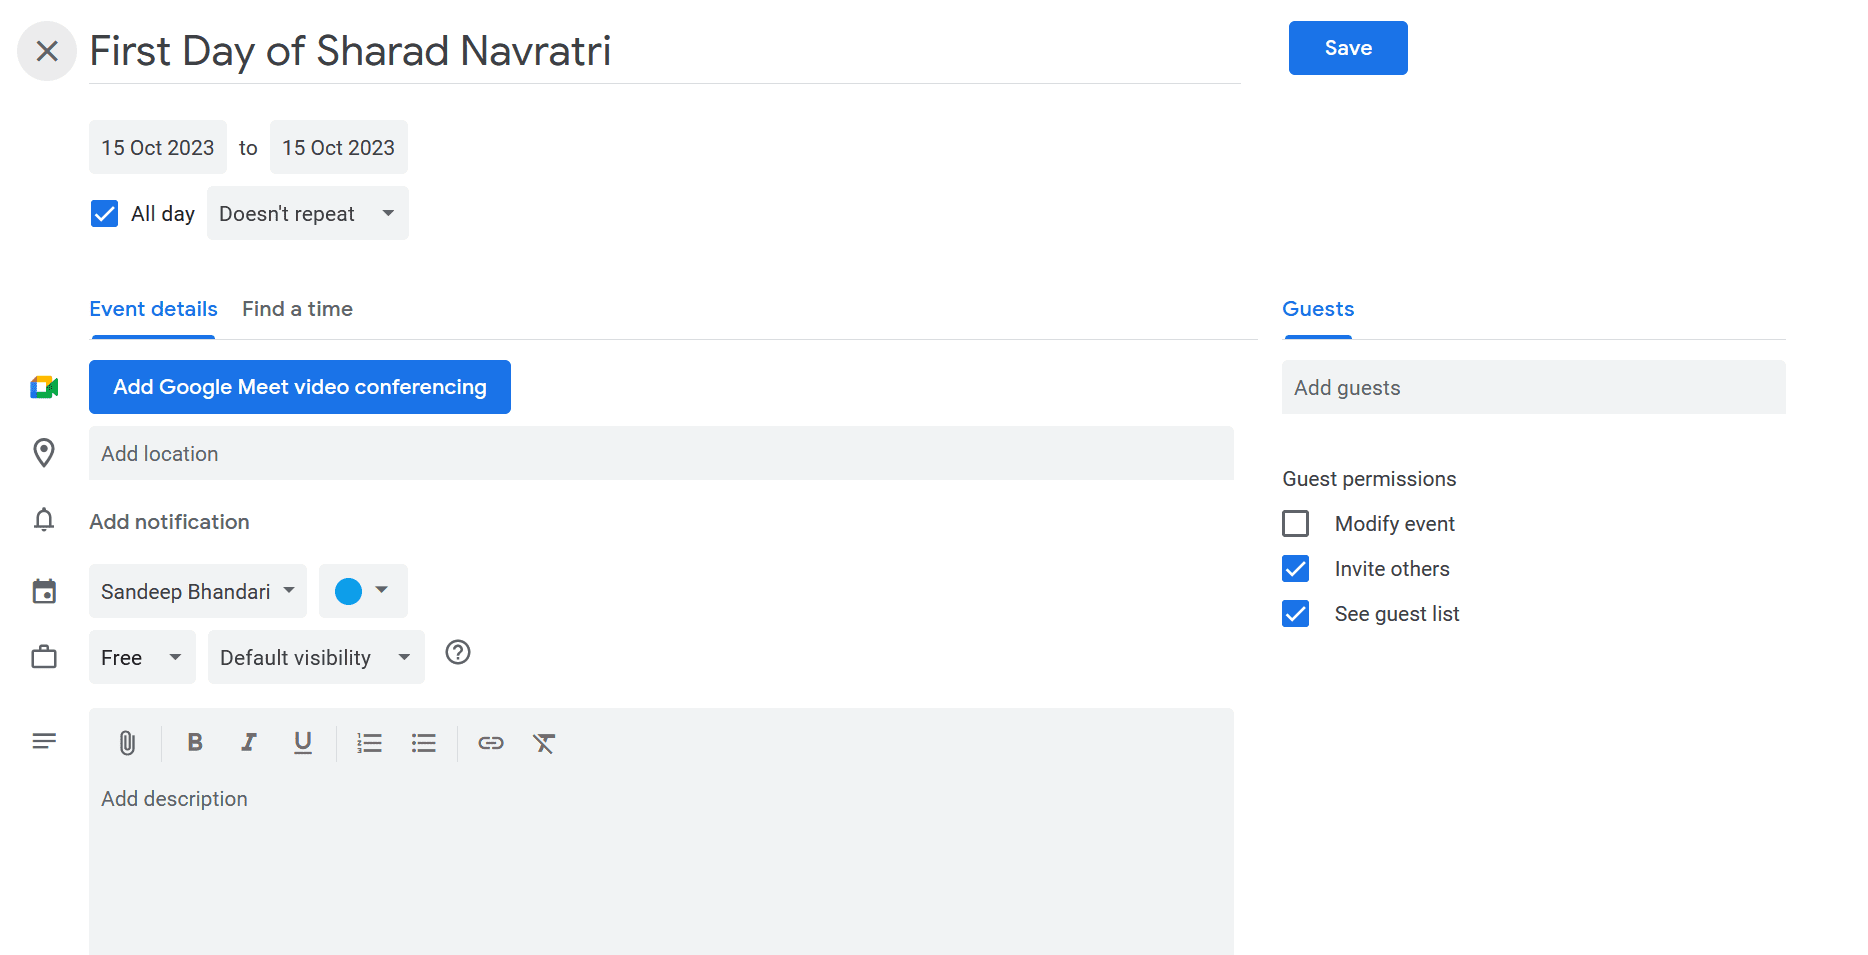
When sharing your Google Calendar with others, properly managing the permission settings is essential. To change the permission settings, follow these steps:
- Open Google Calendar in your browser.
- In the left panel, find the “My calendars” section.
- Hover your cursor over the calendar you want to manage, then click the three vertical dots next to the calendar’s name.
- Select Settings and sharing from the menu.
- Scroll down to the Share with specific people section.
- Here, you will see a list of people currently accessing your calendar. You can easily update their permissions by clicking on the drop-down menu next to their names and selecting the appropriate access level:
- See only free/busy (hide details)
- See all event details
- Make changes to events
- Make changes and manage sharing
By going through these steps, you can ensure that people who have access to your Google Calendar only have the permissions you want them to have.
Unsharing Your Calendar
If you need to unshare your Google Calendar with someone or stop sharing it entirely, follow these simple steps:
- Open Google Calendar in your browser.
- In the left panel, find the “My calendars” section.
- Hover your cursor over the calendar you want to unshare, then click the three vertical dots next to the calendar’s name.
- Select Settings and sharing from the menu.
- Scroll down to the Share with specific people section.
- To unshare with an individual, click the “X” symbol next to their name and then Remove.
- Alternatively, if you wish to stop sharing the calendar entirely with the public or other users, scroll down to the Access Permissions section and uncheck the box next to “Make available to public” or “Share with specific people”.
By following these steps, you can effectively manage your shared Google Calendar’s settings and control who can access it.
Troubleshooting Common Issues

Resolving Sharing Errors
Sometimes, you might encounter issues while trying to share your Google Calendar. Here are a few steps to troubleshoot common sharing errors:
- Check your internet connection: Ensure you’re connected to the internet and your device has sufficient signal strength.
- Verify calendar visibility settings: Go to your Google Calendar, click the three dots icon next to the calendar you want to share, and select “Settings and sharing.” Make sure the calendar’s visibility is set to the appropriate level.
- Ensure you have the correct email addresses: Double-check the email addresses of the people you’re trying to share the calendar with to ensure they are accurate.
Fixing Permission Issues
Sometimes, the people you’re sharing your calendar with may not have the right permissions to access it. To resolve this issue, follow these steps:
- Review your sharing settings: Go to the “Settings and sharing” page for the calendar you want to share. Under the “Share with specific people” section, ensure that each person’s email address is correct, and their permission level is set as intended (e.g., “See all event details” or “Make changes to events”).
- Resend sharing invitations: You can resend sharing invitations by clicking on the three dots icon next to an individual’s email address in the “Share with specific people” section, and then selecting “Resend invitation.”
- Ask recipients to verify their email receipt: Request the people you’ve shared your calendar with to check their email for the sharing invitation and follow the steps to accept it.
By following these troubleshooting steps for resolving sharing errors and fixing permission issues, you should be able to successfully share your Google Calendar with others professionally.
Disable Calendar Sharing
When you share your Google Calendar with others, there may come a time when you want to limit that access. Disabling calendar sharing with specific people or removing shared calendars altogether is a simple process. Here’s how you can disable calendar sharing professionally and easily.
To start, access your Google Calendar by visiting calendar.google.com on your preferred web browser or by using the Google Calendar app on your mobile device. Locate the calendar you want to stop sharing in the left column. Typically, this will be under the “My calendars” section, but you may also have a secondary calendar that you want to stop sharing.
Next, hover over the calendar you wish to disable sharing for, and click the three vertical dots that appear to the right of the calendar name. This will open a menu. From there, select “Settings and Sharing.” This will open the calendar’s settings and sharing options.
In the settings, locate the “Share with specific people” section. This section contains a list of people who have access to your calendar. To disable calendar sharing with an individual person, click the trash-can icon next to their email address. This will remove their access to your calendar, deactivating the sharing feature. Repeat this process for each person you wish to disable calendar sharing with.
If you want to completely unshare your calendar with everyone, you can do so by toggling off the “Make available to public” button in the “Access permissions” section of the calendar settings. This will ensure that only you have access to your calendar.
Remember, you can always update your sharing settings if you change your mind or need to share your calendar with different people. Disabling calendar sharing is an important aspect of maintaining control over your schedule and ensuring that your data remains private.
