Screenshots are invaluable tools for various purposes, from documentation and troubleshooting to sharing information and creative projects. Fortunately, Mac users have a variety of methods at their disposal to effortlessly capture their screens.
Why Screenshot? Screenshots are the digital equivalent of snapping a photo to capture a moment. They’re essential for illustrating instructions, reporting issues, preserving important information, or simply sharing a funny meme. Whether you’re a student, professional, or casual user, knowing how to take screenshots on your Mac can greatly enhance your productivity and communication.
Mac’s Versatility MacOS provides multiple straightforward methods for capturing screenshots. These methods cater to different needs, making choosing the right one for your specific task easy. Whether you prefer keyboard shortcuts, built-in utilities, or third-party apps, Mac has you covered. In this article, we’ll explore four simple ways to capture screenshots on your Mac, ensuring you have the skills to handle various screenshot scenarios.
Method 1 – Using Keyboard Shortcuts
1.1 Capturing the Entire Screen
To capture the entire screen on your Mac using keyboard shortcuts, follow these simple steps:
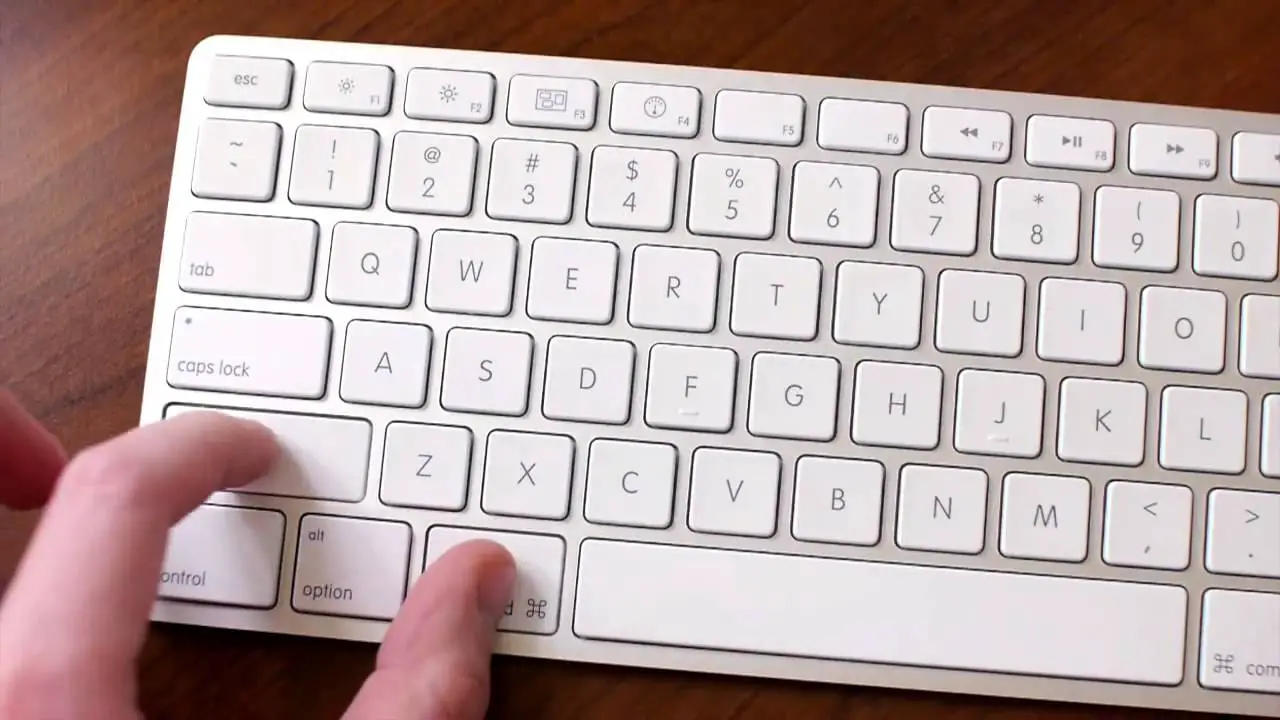
- Press Command + Shift + 3: Simultaneously hold down the Command (⌘), Shift (⇧), and 3 keys on your keyboard. This instantly captures the entire screen, including all open windows and menus.
- Hear the Shutter Sound: Once you press the keyboard shortcut, you’ll hear a camera shutter sound, indicating that the screenshot has been taken.
- Screenshot Location: By default, the screenshot is saved to your desktop as a PNG file with a filename like “Screen Shot [date] at [time].png.”
- Additional Options: For more control, hold down the Control (⌃) key along with the other keys mentioned above to copy the screenshot to your clipboard instead of saving it as a file. This is useful to paste the screenshot directly into another application.
Using keyboard shortcuts for full-screen screenshots is quick and efficient, perfect for capturing your entire screen in seconds.
1.2 Capturing a Selected Portion
To capture a specific portion of your Mac’s screen using keyboard shortcuts, follow these steps for a precise screenshot:
- Press Command + Shift + 4: Hold down the Command (⌘) and Shift (⇧) keys together, then press 4. This activates the screenshot tool.
- Cursor Changes: Your cursor will transform into a crosshair icon, allowing you to select the area you want to capture.
- Select the Area: Click and drag to create a rectangular selection around the portion of the screen you want to capture. To adjust the selection, press the Spacebar to move it, or hold Shift to lock the selection’s aspect ratio.
- Capture the Selection: Release the mouse button to screenshot the selected area. You’ll hear the camera shutter sound.
- Screenshot Location: The captured portion is saved to your desktop as a PNG file.
For precision, use the Shift and Spacebar shortcuts while selecting to ensure accuracy in your screen captures.

1.3 Capturing a Specific Window
To capture a specific window or application on your Mac, follow these straightforward steps:
- Activate the Screenshot Tool: Press Command (⌘) + Shift (⇧) + 4, followed by the Spacebar. Your cursor will change into a camera icon.
- Select the Window: Move the camera icon over the window or application you want to capture, and it will be highlighted.
- Capture the Window: Click on the highlighted window to hear the camera shutter sound. This captures only the selected window, even if there are multiple open.
- Screenshot Location: The screenshot will be saved as a PNG file on your desktop.
When managing multiple open windows, this method lets you focus on a specific one without the clutter of the entire screen, ensuring a clean and precise screenshot of the desired content.
Method 2 – Using the Grab Utility
2.1 Introduction to Grab
While keyboard shortcuts are popular for taking screenshots on a Mac, the “Grab” utility is another method worth exploring. Here’s a brief introduction to this handy tool:
- Locate Grab: You can find the Grab utility in the “Utilities” folder, which is within the “Applications” folder on your Mac. Alternatively, you can use Spotlight (Command + Space) to search for “Grab.”
Advantages of Grab:
- Precise Selection: Grab offers precise control over the area you want to capture, allowing you to choose from options like “Selection,” “Window,” or “Screen.”
- Delay Option: You can set a delay before the screenshot is taken, which is useful for capturing menus or tooltips that disappear quickly.
- File Formats: Grab allows you to save screenshots in multiple formats, including TIFF, PNG, and JPEG.
When to Prefer Grab:
- Grab is ideal for users who prefer a graphical interface for taking screenshots, making it more user-friendly for some.
- It’s especially useful when you need advanced options or anticipate needing a delayed capture.
While keyboard shortcuts remain quick and efficient, Grab provides a more visual and versatile approach to capturing screenshots on your Mac, catering to user preferences and needs.
2.2 Capturing Screenshots with Grab
Using the Grab utility to capture screenshots on your Mac is straightforward. Here’s a step-by-step guide emphasizing its unique features:
- Launch Grab: Go to the “Utilities” folder in the “Applications” directory and open Grab.
- Capture Method: In the Grab menu, choose one of the capture methods:
- Selection: Allows you to select a specific portion of the screen.
- Window: Captures a specific window, which can be useful when focusing on one application.
- Screen: Takes a screenshot of the entire screen.
- Timed Capture: If needed, you can set a timer by selecting “Capture” > “Timed Screen” from the menu. This is handy when you need a few seconds to set up your screen before capturing.
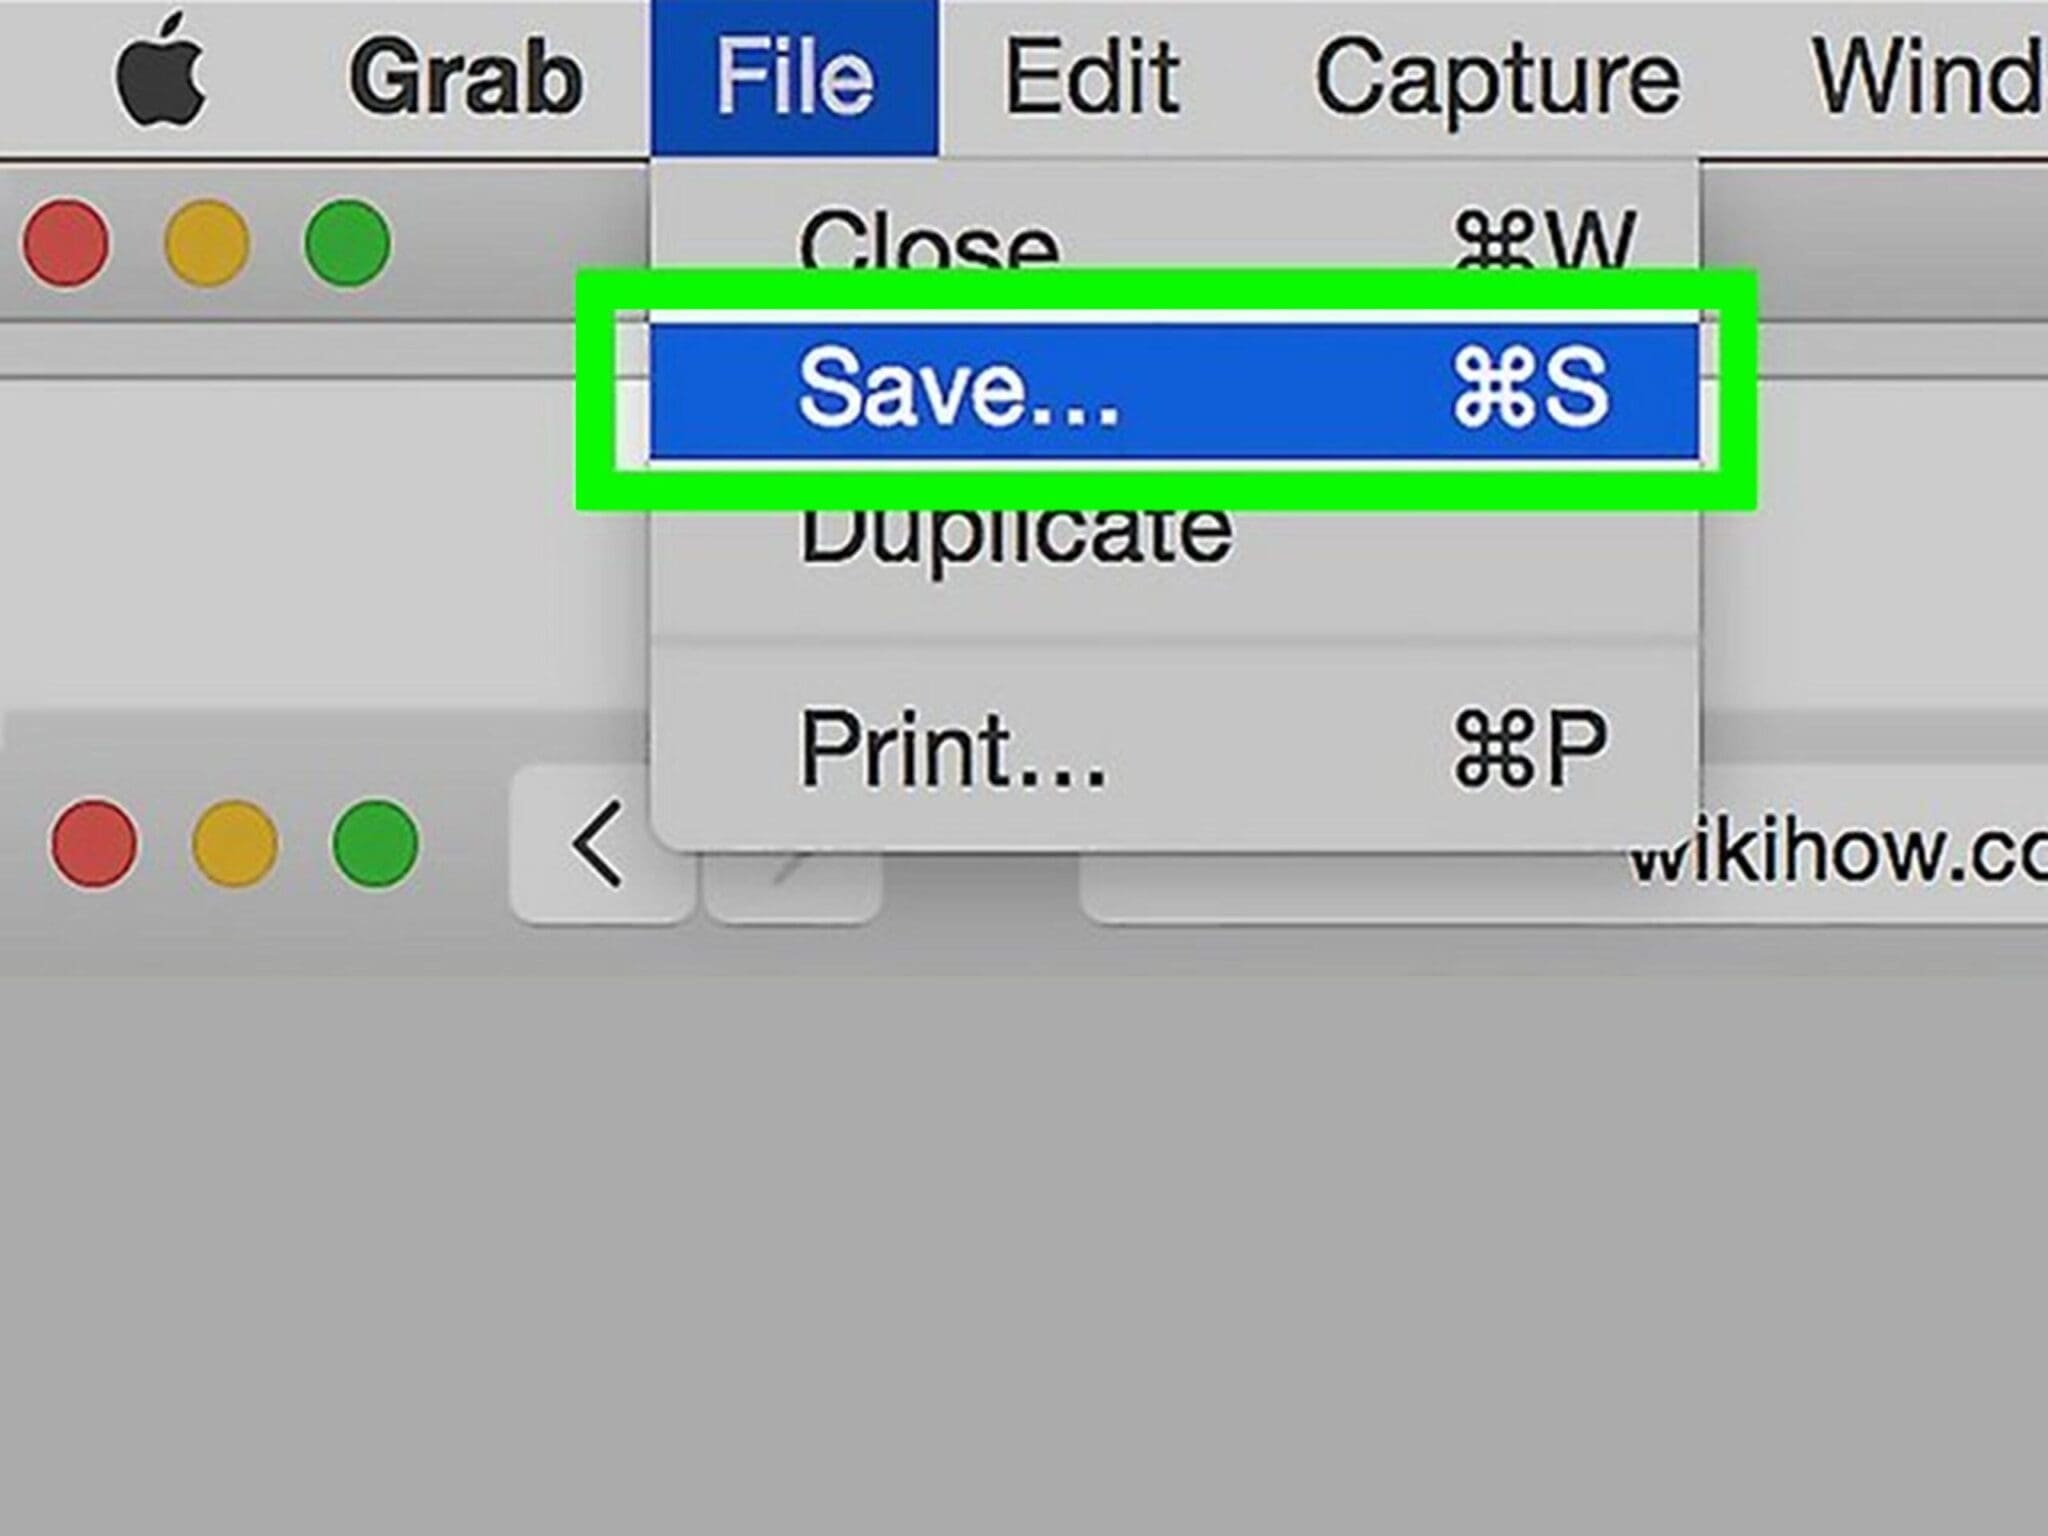
- Save the Screenshot: After capturing, you can save the screenshot in formats like TIFF, PNG, or JPEG by selecting “File” > “Save” from the menu. You can also copy it to the clipboard or print it directly.
Grab’s versatility, especially its timed capture and various selection options, makes it an excellent choice when you require specific screen elements or need a delay before capturing. It offers more control and format choices compared to traditional keyboard shortcuts.
Method 3 – Using Preview App
3.1 Overview of Preview App
The Preview app on Mac is a versatile screenshot-capture tool that offers various capabilities beyond this primary function. Here’s an introduction to its features:
- Screenshot Capture: To take a screenshot using Preview, open the app and go to “File” > “Take Screenshot.” You can capture the entire screen, a selected window, or a specific portion.
- Annotation: Preview excels at image editing and annotation. After capturing a screenshot, use tools like text boxes, shapes, arrows, and highlights to add comments or mark up your image.
- Image Editing: You can crop, rotate, adjust colours, and even apply filters to your screenshots within Preview.
- PDF Handling: Preview is a robust PDF viewer and editor. You can merge, split, annotate, and fill out forms in PDF documents.
- Signature: Preview allows you to create and store digital signatures for signing documents electronically.
- Conversion: Convert various file formats into PDFs, and vice versa, directly within the app.
Beyond being a screenshot capture tool, Preview is a multi-functional application for handling images, PDFs, and even basic document management, making it a valuable utility for Mac users.
3.2 Taking Screenshots with Preview
Capturing screenshots using the Preview app on Mac is straightforward and offers powerful editing capabilities. Here’s a step-by-step guide along with the advantages of this method:
- Open Preview: Launch the Preview app from your Applications folder or using Spotlight search.
- Capture the Screenshot: Click on “File” in the menu bar, then select “Take Screenshot.” You can capture the entire screen, a specific window, or a selected portion.
- Editing: Once the screenshot is taken, it opens in Preview, where you can make various edits. You can annotate with text, shapes, arrows, and highlights. Crop, resize, or rotate the image as needed. Adjust colours and apply filters to enhance the screenshot.
- Save Your Work: After editing, save your screenshot in the desired format by selecting “File” > “Export.” You can choose from various file types, including PNG, JPEG, TIFF, or PDF.
Advantages of Using Preview:
- Robust Editing: Preview offers a wide range of image editing tools, making it ideal for enhancing and customizing screenshots.
- Multiple Format Options: You can save screenshots in various formats, ensuring compatibility with different applications and platforms.
- Efficient Workflow: Capture and edit within a single application, streamlining your workflow for quick and professional results.
Using the Preview app for taking screenshots on Mac simplifies the process. It empowers you with comprehensive editing options, making it a versatile and efficient choice for users who want to enhance their screen captures.

Method 4 – Third-Party Apps
4.1 Introduction to Third-Party Apps
Beyond the built-in methods and tools, Mac users can employ third-party screenshot capture apps, offering a host of benefits and enhanced flexibility.
1. Specialized Features: Third-party apps have specialized features not found in native Mac tools. These can include advanced annotation tools, cloud integration, and easy sharing options.
2. Customization: Many third-party apps provide extensive customization options, allowing users to tailor their screenshot workflow to their needs. This includes selecting output formats, automatic file naming, and keyboard shortcut customization.
3. Cloud Integration: Some third-party apps seamlessly integrate with cloud services, enabling users to save, share, or sync their screenshots effortlessly. This is especially valuable for collaborative work or quick access from multiple devices.
4. Enhanced Editing: These apps provide more advanced image editing tools, allowing for precise adjustments, adding effects, and creating professional-looking screenshots.
5. Organization: Many third-party apps offer features for organizing and managing your screenshot library, simplifying finding and accessing past captures.
6. Cross-Platform Compatibility: Some third-party apps are available on multiple platforms, making maintaining a consistent workflow across different devices and operating systems easier.
While Mac’s native tools are functional, third-party screenshot capture apps expand the possibilities, catering to users with diverse requirements and preferences for a more efficient and feature-rich screenshot experience.
4.2 Recommended Third-Party Apps
Several popular third-party screenshot apps for Mac offer unique features and user-friendly interfaces:
1. Snagit:
- Features: Snagit is known for its powerful editing capabilities, including text annotations, callouts, and advanced effects. It also supports video capture.
- User-Friendly: The interface is intuitive, making it accessible for users of all levels.
- Pricing: Snagit offers a free trial with a one-time purchase price of around $49.99 for a single license.
2. Lightshot:
- Features: Lightshot allows users to capture specific screen areas and quickly edit them. It also offers easy sharing to various platforms.
- User-Friendly: Lightshot is straightforward and beginner-friendly, with a minimal learning curve.
- Pricing: Lightshot is free to download and use.
3. Skitch:
- Features: Developed by Evernote, Skitch offers basic annotation tools, making it suitable for quick edits and simple markups.
- User-Friendly: Its interface is easy to navigate, but it may lack the advanced features of other apps.
- Pricing: Skitch is free to use.
4. Zight:
- Features: CloudApp captures screenshots and offers cloud storage, link sharing, and annotation capabilities.
- User-Friendly: It provides a user-friendly interface and integrates well with other productivity tools.
- Pricing: CloudApp offers a free trial and subscription plans starting at $9/month.
Each of these third-party screenshot apps for Mac caters to different user needs. The choice depends on your preferences, requirements, and budget, whether you need advanced editing tools, seamless sharing options, or a simple and free solution.
Conclusion
Taking screenshots on a Mac offers versatility for various scenarios. Here’s a summary of the four methods:
- Keyboard Shortcuts: Use Command + Shift + 3 for full screen or Command + Shift + 4 to select a portion. Ideal for quick captures without extra steps.
- Grab Utility: In the “Utilities” folder, Grab offers precise selection and delay options, perfect for capturing specific elements or menus.
- Preview App: Beyond screenshots, Preview excels in image editing and annotation, making it a go-to choice for enhancing captures.
- Third-Party Apps: Explore Snagit, Lightshot, Skitch, or CloudApp for specialized features, customization, and cloud integration.
Choosing the right method depends on your needs. Effortlessly capture and enhance your Mac experience by exploring these options, becoming proficient at taking screenshots tailored to your unique requirements. Mac offers a method for every scenario, whether documentation, communication, or creativity.
Additional Tips and FAQs
1. Customizing Keyboard Shortcuts: You can customize the keyboard shortcuts for screenshots in Mac. Go to “System Preferences” > “Keyboard” > “Shortcuts” > “Screen Shots” to change or create new shortcuts.
2. Clipboard Copy: Pressing Control (⌃) and other screenshot shortcuts copy the capture to your clipboard instead of saving it as a file, making it easy to paste into documents or messages.
3. Where Are Screenshots Saved?: By default, screenshots are saved to your desktop, but you can change the save location using Terminal commands or third-party apps.
4. Capturing the Touch Bar: To capture the Touch Bar on a MacBook Pro, use Command (⌘) + Shift (⇧) + 6.
5. Editing Screenshot File Names: You can quickly rename screenshots on your desktop by clicking the filename, pressing Enter, and then typing your desired name.
6. Screenshot Shortcuts in Touchpad: For MacBook users with a Force Touch trackpad, you can take a screenshot by pressing Shift (⇧) + Control (⌃) + Command (⌘) + 4 simultaneously.
7. Clearing Disk Space: Regularly delete unnecessary screenshots to free up disk space, especially if you take many screenshots.
8. What If the Screenshot Sound Is Off? If you muted your Mac’s sound, the screenshot won’t play, but the screenshot will still be captured.
Taking screenshots on a Mac is a versatile tool for various tasks. Experiment with these shortcuts and methods to find the ones that best suit your workflow and productivity needs.
